This is one of those meals that just makes life easier. It can be canned, frozen, or reheated for a quick, protein-packed dinner on those busy nights. Around here, we measure with our hearts—not calories—and this chili is filling, comforting, and always hits the spot. It’s the kind of meal that keeps everyone full and somehow still has the kids asking for more. It’s a go-to in my house, and I hope it becomes one in yours too 🤍
What You’ll Need:
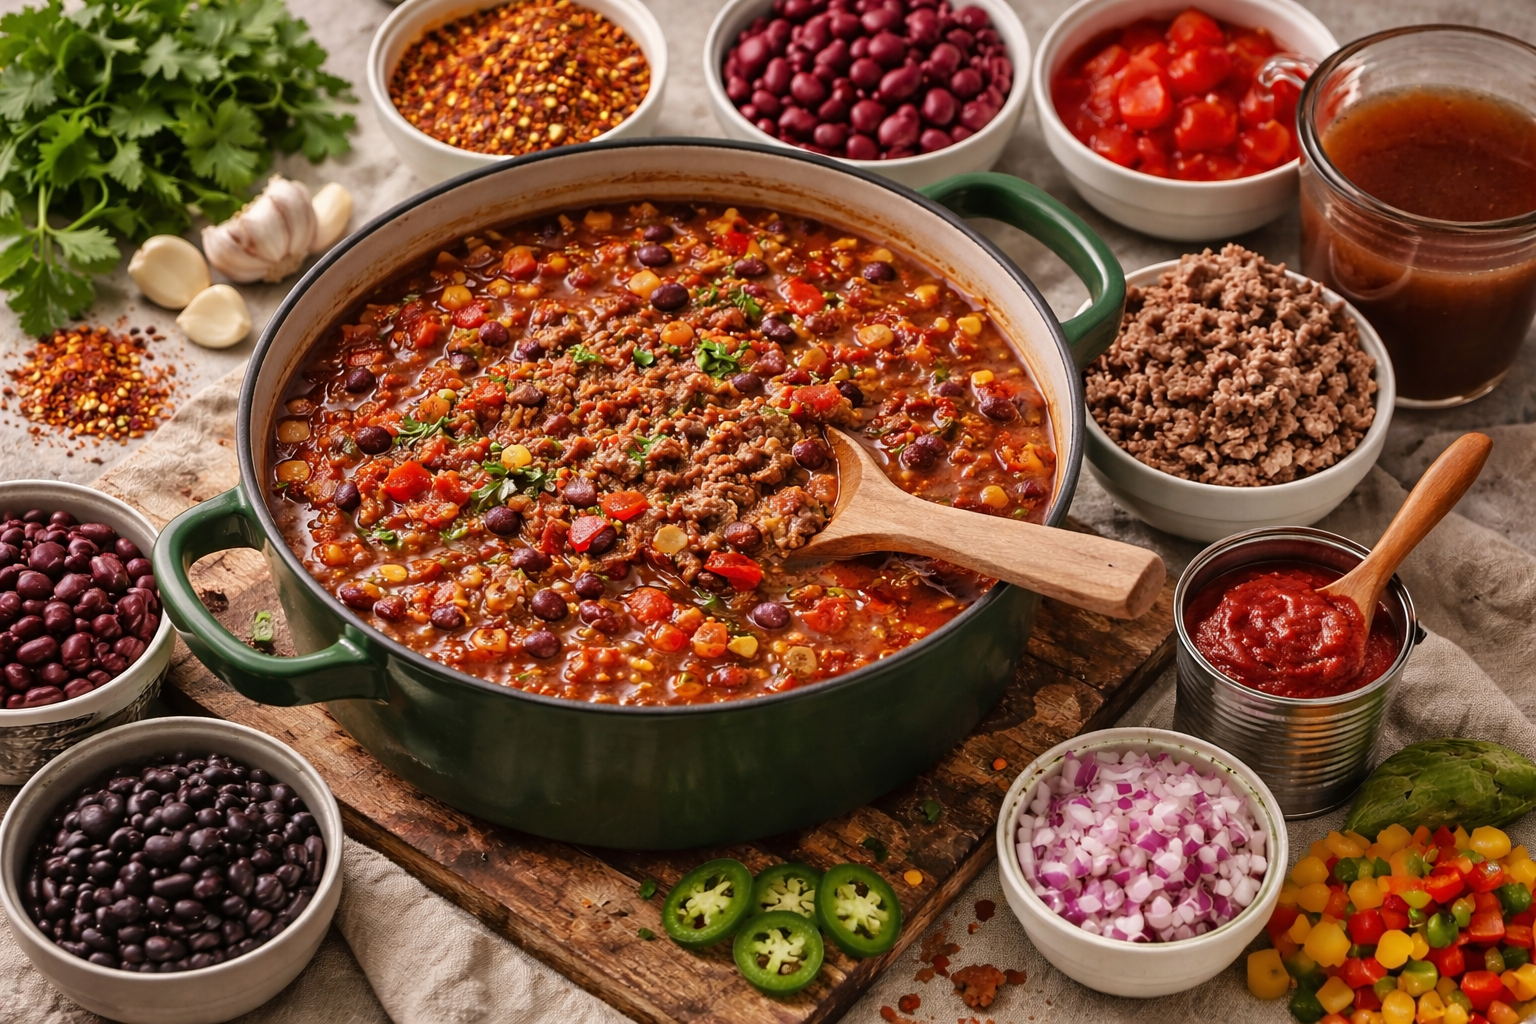
- 2 lbs ground beef (substitute with ground turkey if desired)
- 3 cans of kidney beans (rinsed)
- 3 cans of black beans (rinsed)
- 3 cans of fire roasted tomatoes (I like the HUNTS brand)
- 1 can of tomato paste
- 3-4 large bell peppers, chopped (or frozen pepper & onion blend)
- 1 red onion, chopped
- 2 jalapeños (de-seeded if you prefer less heat)
- 2 32oz containers of beef broth
- 2 chili flavor packets
- 1-3 cups of water, depending on desired consistency
- Optional: minced garlic (or garlic powder), salt, pepper
Instructions:
1. Brown the meat: Place a large pot or Dutch oven on the stove over medium heat. Add your ground beef (or turkey) and break it apart with a spoon as it cooks. Continue cooking until it is mostly browned (no longer pink in most spots). While this is cooking, open and rinse your beans under cold water.
2. Add the vegetables: Once the meat is about 90% cooked, add your chopped bell peppers, red onion, and jalapeños directly into the pot. Stir everything together and let it cook for a few minutes until the vegetables begin to soften.
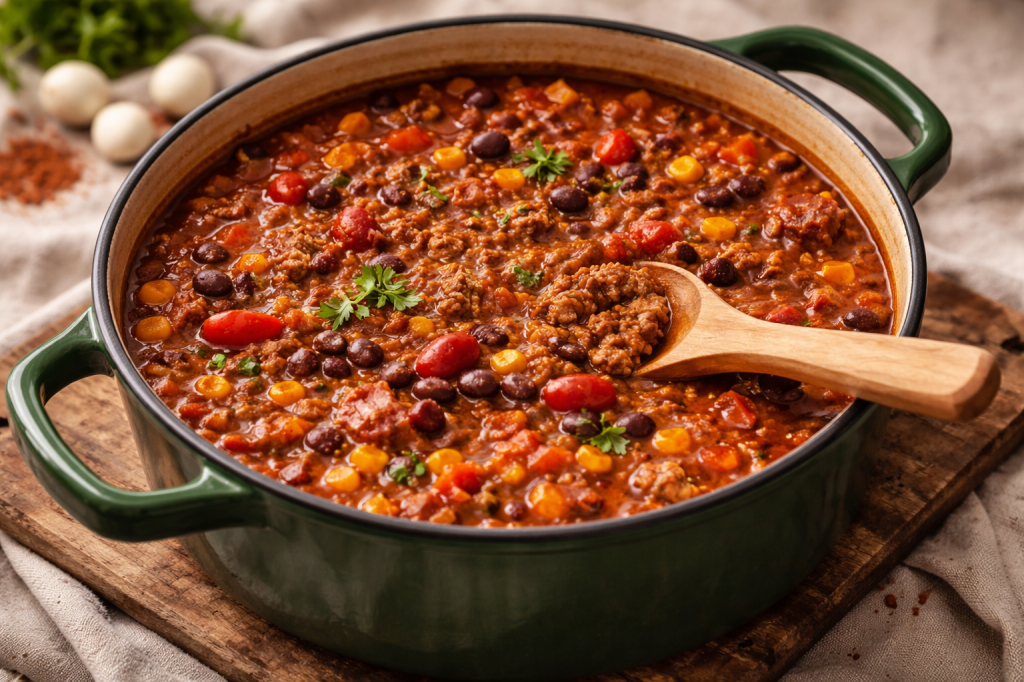
3. Build the base: Pour in your beef broth and 1–3 cups of water depending on how thick or soupy you want your chili. Add your rinsed beans, roasted tomatoes, and tomato paste. Stir everything together until well combined.
4. Season: Add your chili seasoning packets and mix well. At this point, taste your chili and adjust if needed—add salt, pepper, or garlic depending on your preference.
5. Let it simmer: Turn the heat down to low and let your chili simmer for about 20–30 minutes.
Stir occasionally so nothing sticks to the bottom. This step helps all the flavors come together.
6. Thicken if needed: If your chili seems too thin, mix a small amount of flour with water in a separate bowl until it looks like pancake batter. Slowly pour it into the chili while stirring until it
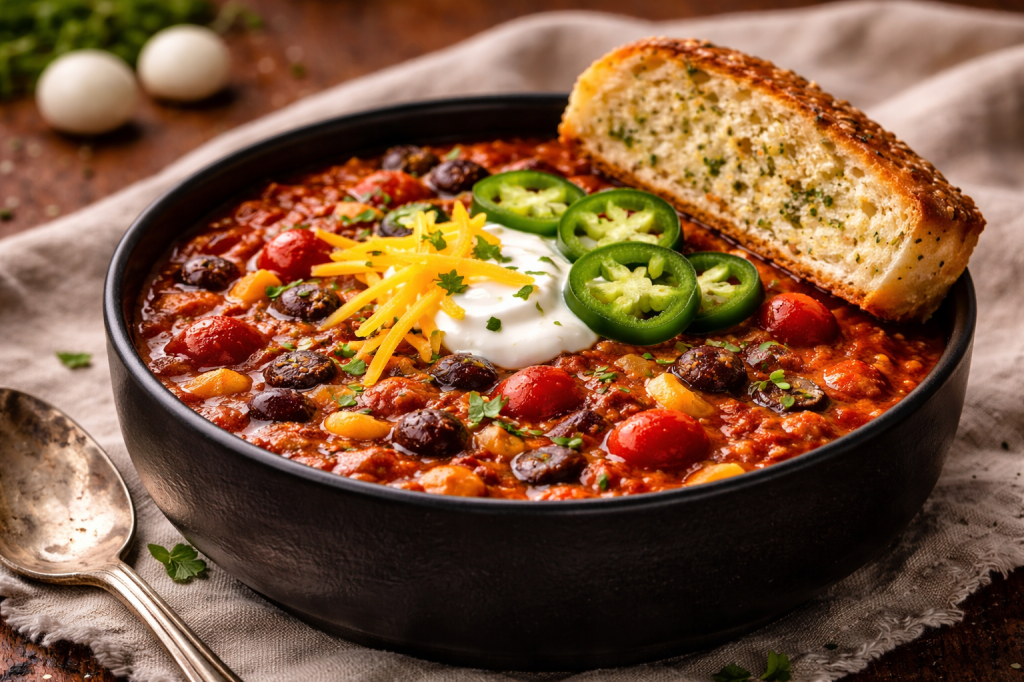
7. Serving Suggestions:
- Serve with cornbread or garlic bread
- Top with sour cream, cheese, and chopped onions
- Top with jalapeños for extra heat
Tips:
If you really want to stretch this meal, get a box of Minute Rice and cook that on the side. Serve the chili right on top of a big scoop of rice. I usually make mine thinner for this reason.
I freeze this meal in gallon ziplock bags, and reheat it on the stove. Run the frozen bag under hot water until the soup can be broken up and then add it to a pot with a small amount of water on the bottom. 10 minutes later, you have a meal hot and ready!